Have you ever spent an hour applying cosmetics only to end up with a cakey, uneven finish? Watching professional makeup artists effortlessly transform a face can feel like magic. However, the difference between an amateur application and a breathtaking, professional finish usually comes down to a few fundamental techniques.
Mastering your daily cosmetic routine does not require an expensive beauty school education. It simply requires an understanding of how products interact with your skin and the right tools to apply them. If you are searching for practical, reliable makeup tips for beginner application, you have come to the right place.
This comprehensive guide will walk you through the entire process of creating a stunning, skin-like finish. You will learn the critical importance of skincare prep, the secret to seamless foundation blending, and exactly how to lock your look in place for all-day wear. Let us dive into the ten essential steps that will elevate your beauty routine from basic to extraordinary.
1. Skin Preparation and Hydration
Professional makeup artists know that a flawless look starts long before you open a bottle of foundation. Your skin is the canvas. If that canvas is dry, flaky, or overly oily, no cosmetic product in the world will sit beautifully on top of it.
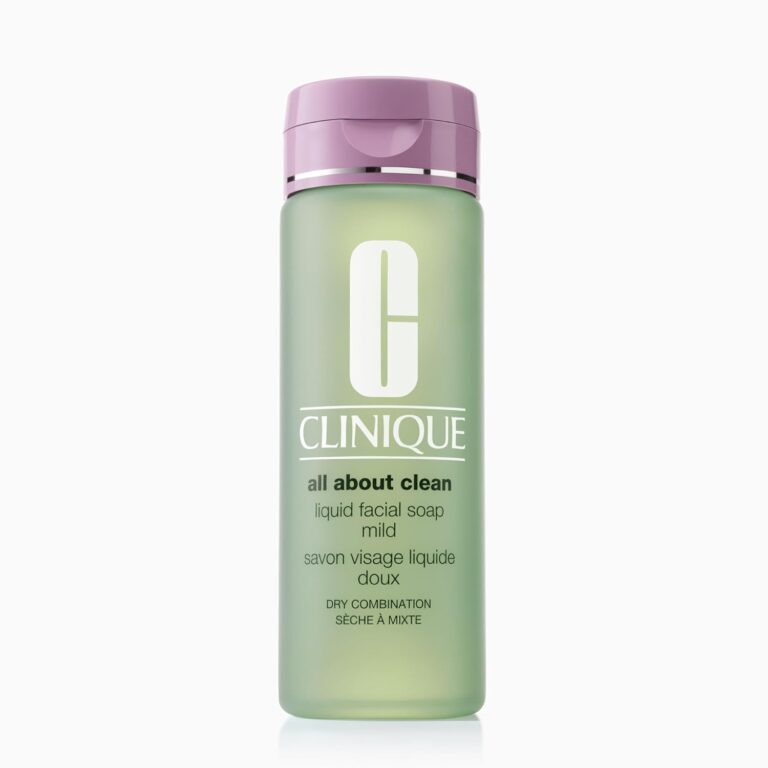
Cleanse and Exfoliate Gently
Start by washing your face with a gentle, pH-balanced cleanser to remove dirt and excess sebum. Twice a week, incorporate a mild chemical exfoliant containing lactic or salicylic acid. Exfoliating removes the dead skin cells that cause foundation to look patchy and cling to dry spots. Rinse your face thoroughly and pat it dry with a clean towel.
Deep Hydration is Mandatory
Even if you have oily skin, you must moisturize before applying makeup. When your skin lacks hydration, it overproduces oil to compensate, which ultimately melts your makeup off. Apply a lightweight, water-based moisturizer and let it absorb completely for at least five minutes. This waiting period ensures your skincare does not mix with your makeup and cause frustrating pilling.
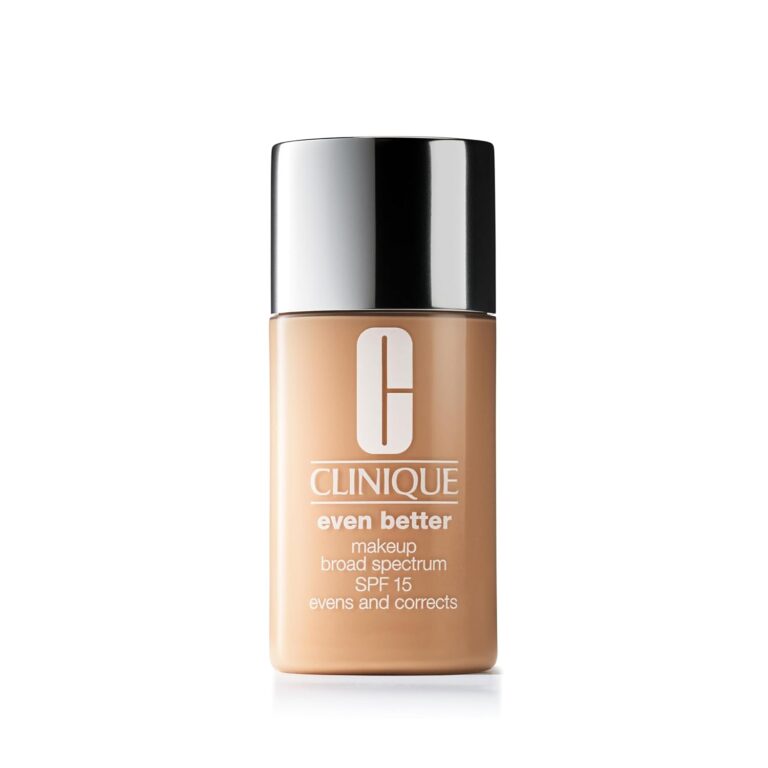
2. Choosing and Applying the Right Primer
Primer acts as a protective barrier between your skincare and your cosmetics. It smooths out your skin’s texture, blurs enlarged pores, and gives your foundation something to grip onto. However, you must choose a primer that actually matches your skin type.
Match Primer to Your Skin Type
If you have dry skin, look for a hydrating primer packed with hyaluronic acid or glycerin to create a dewy, plump surface. If you struggle with excess shine, a mattifying silicone-based primer will keep your natural oils in check. Always ensure the base ingredient of your primer matches your foundation. Using a water-based primer with a silicone-based foundation will cause the products to separate instantly.
Strategic Application
You do not necessarily need to apply primer all over your entire face. Focus the product specifically on your problem areas. Press a pore-filling primer gently into your T-zone, where pores are typically the largest. Use your fingertips to tap the product into the skin rather than rubbing it, which ensures a smooth, spackle-like effect.
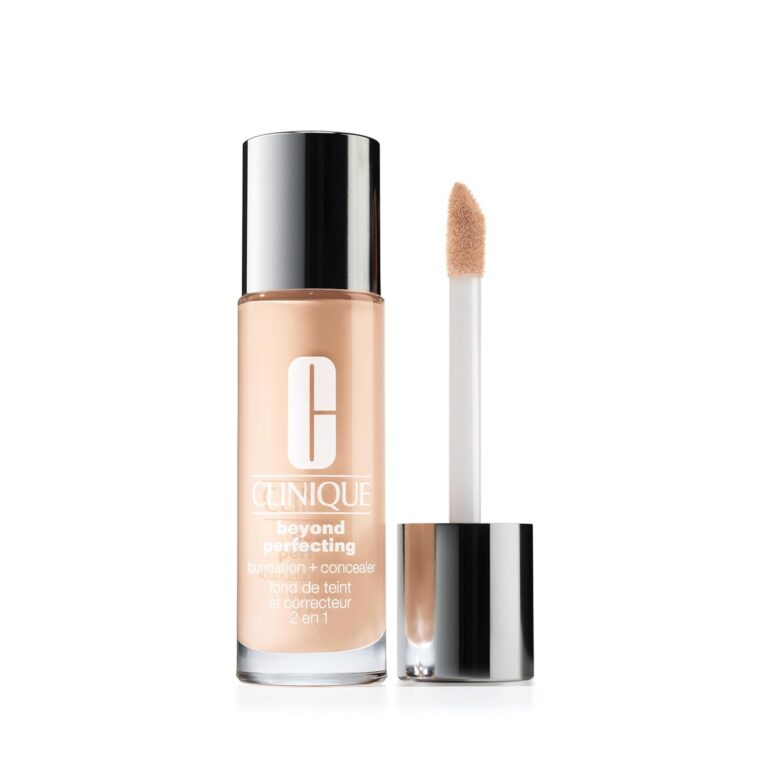
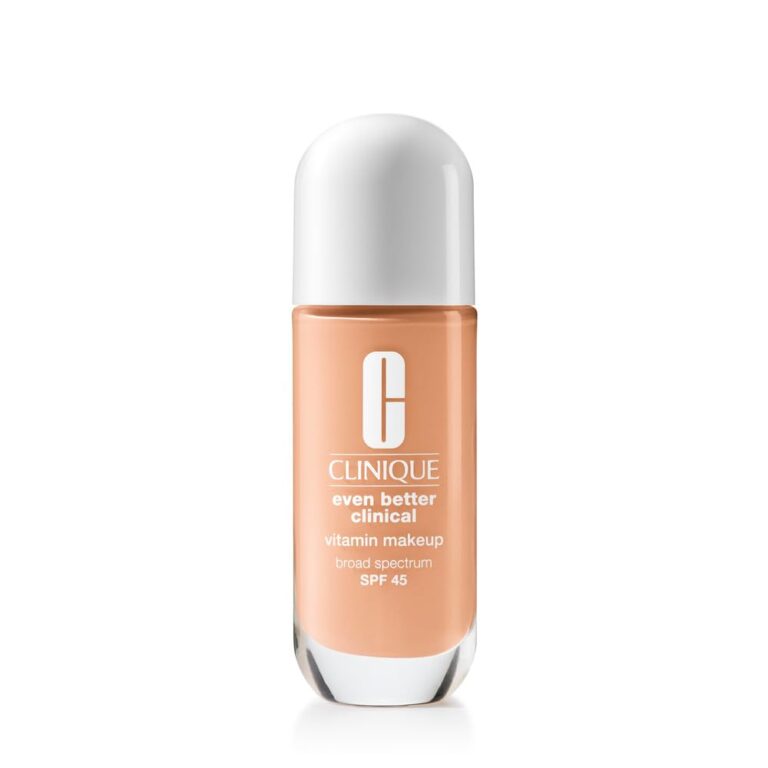
3. Foundation Blending Techniques for a Skin-Like Finish
The biggest mistake beginners make is applying too much foundation. Heavy layers of pigment look obvious and age your face dramatically. The goal is to even out your skin tone while still allowing your natural skin texture to shine through.
The “Less is More” Approach
Start by pumping a single drop of foundation onto the back of your hand. Dot the product lightly around the center of your face, where redness and discoloration usually occur. You can always add more product later if you need extra coverage in specific spots. Keep the foundation sheer around the perimeter of your face and your hairline to avoid harsh, visible demarcation lines.
Master the Damp Beauty Sponge
Put down the flat foundation brushes. A damp beauty sponge is the ultimate tool for achieving a flawless, skin-like finish. Run your sponge under warm water until it doubles in size, then squeeze out every drop of excess moisture. Bounce the sponge rapidly over your face to press the foundation seamlessly into your pores. This stippling motion removes excess product and eliminates brush streaks completely.
4. Strategic Concealing for Brightness and Coverage
Concealer serves two distinct purposes: hiding angry blemishes and brightening the dark areas of your face. You should ideally use two different shades of concealer to achieve the best possible results.
Brightening the Under-Eye Area
Choose a liquid concealer that is one or two shades lighter than your natural skin tone for your under-eyes. Instead of drawing a massive triangle, place one small dot near the inner corner of your eye and another near the outer corner. Blend this upward toward your temples using your damp sponge. This placement provides maximum brightness while physically lifting the shape of your eye.
Spot-Concealing Blemishes
To cover acne or dark spots, use a matte concealer that matches your foundation exactly. Apply a tiny amount directly onto the blemish using a small, precise brush. Let the concealer sit undisturbed on the skin for about sixty seconds before blending the edges. Allowing it to slightly dry down increases the coverage and prevents you from wiping the product away during the blending process.
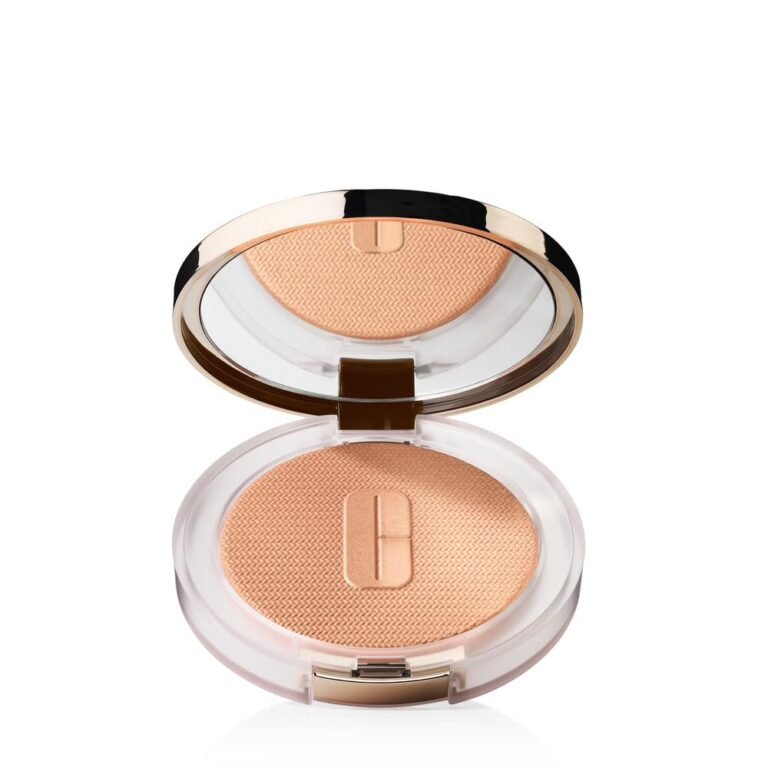
5. The Art of Subtle Contouring and Highlighting
Contouring adds dimension back into your face after foundation flattens it out. Highlighting brings light forward, creating a youthful, healthy glow. When done correctly, this step sculpts your bone structure beautifully.
Sculpting with Cream Bronzer
Cream products are much easier for beginners to blend than harsh powders. Choose a contour shade that runs slightly cool-toned to mimic a natural shadow. Suck in your cheeks and apply the product just above the hollows of your cheekbones to lift your face. Blend the cream aggressively upward toward your hairline using a dense, synthetic brush. Never blend contour downward, as this drags your face down.
Adding Natural Radiance
Apply a liquid or cream highlighter to the highest points of your face. Tap a small amount onto the very tops of your cheekbones, down the bridge of your nose, and on your cupid’s bow. Use your ring finger to melt the product into your skin. The warmth of your finger helps the highlighter blend seamlessly into your foundation without lifting it.
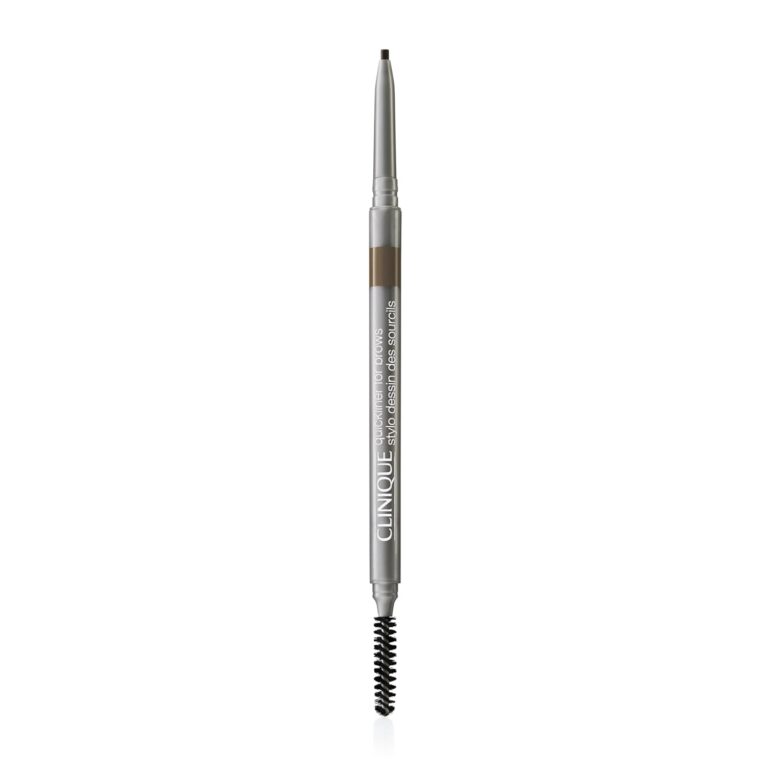
6. Eyebrow Shaping and Definition
Your eyebrows frame your entire face. Over-plucked or harshly drawn brows distract from the rest of your beautiful makeup. The modern brow is full, textured, and softly defined.
Mapping Your Ideal Shape
Use a slim brow pencil to find your perfect arch. Hold the pencil vertically against the dimple of your nose; this is where your brow should start. Pivot the pencil across your pupil to find where the arch should peak. Finally, align the pencil with the outer corner of your eye to determine where the tail should end.
Filling with Hair-Like Strokes
Brush your brow hairs upward using a clean spoolie brush. Using a fine-tipped pencil or brow pen, draw tiny, flicking motions that mimic the look of natural hairs. Focus the darkest color on the tail of the brow and keep the inner corners very light and feathery. Set the hairs in place with a clear or tinted brow gel to ensure they stay lifted all day.
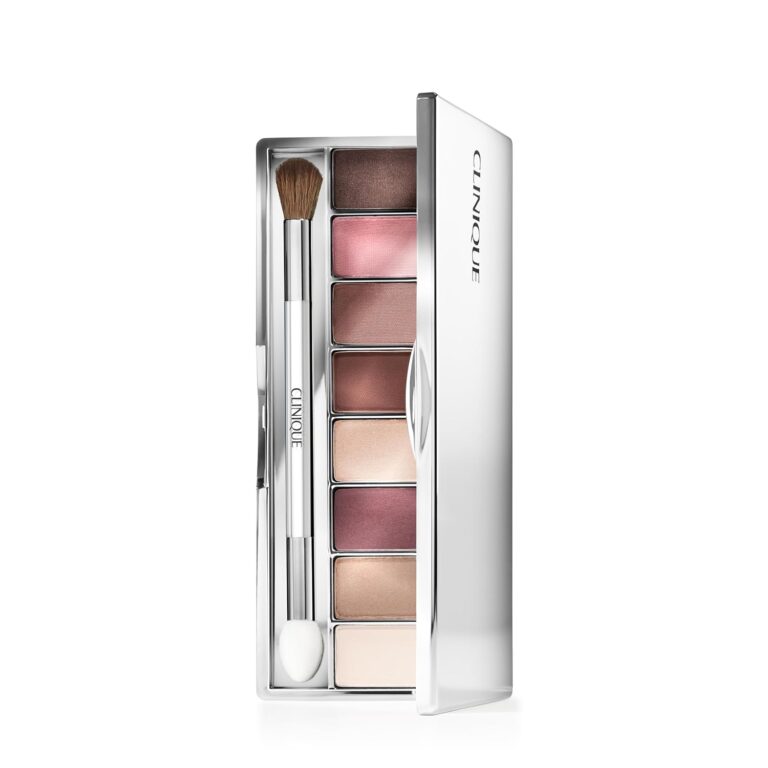
7. Eyeshadow Blending for Depth
Eyeshadow application often intimidates beginners. The secret to a professional eye look is understanding transition shades and taking your time with a clean blending brush.
Establishing the Transition Shade
Apply an eyeshadow primer to your bare lids to prevent creasing. Choose a matte eyeshadow shade that is slightly darker than your natural skin tone. Using a fluffy blending brush, sweep this color back and forth into the crease of your eye using windshield-wiper motions. This acts as your transition shade, helping darker colors blend out smoothly later.
Creating Seamless Edges
Apply a deeper shade to the outer corner of your eye to build depth. Keep the color concentrated in a small “V” shape. To achieve a flawless gradient, take a clean blending brush with no product on it and softly buff the edges of the dark shadow. Always hold your brush near the end of the handle to apply less pressure, resulting in a much softer, highly diffused blend.
8. Eyeliner and Mascara Application Hacks
Defining your lash line makes your eyes appear larger and your lashes look significantly thicker. You do not need a dramatic winged liner to achieve a beautiful, wide-awake effect.
The Tightlining Technique
Tightlining involves applying eyeliner directly to your upper waterline, right at the base of your lashes. Gently lift your upper eyelid and trace a waterproof black or brown pencil along the roots of the lashes. This technique completely hides the flesh-toned gap between your eye and your mascara, creating the illusion of a naturally dense lash line without taking up visible lid space.
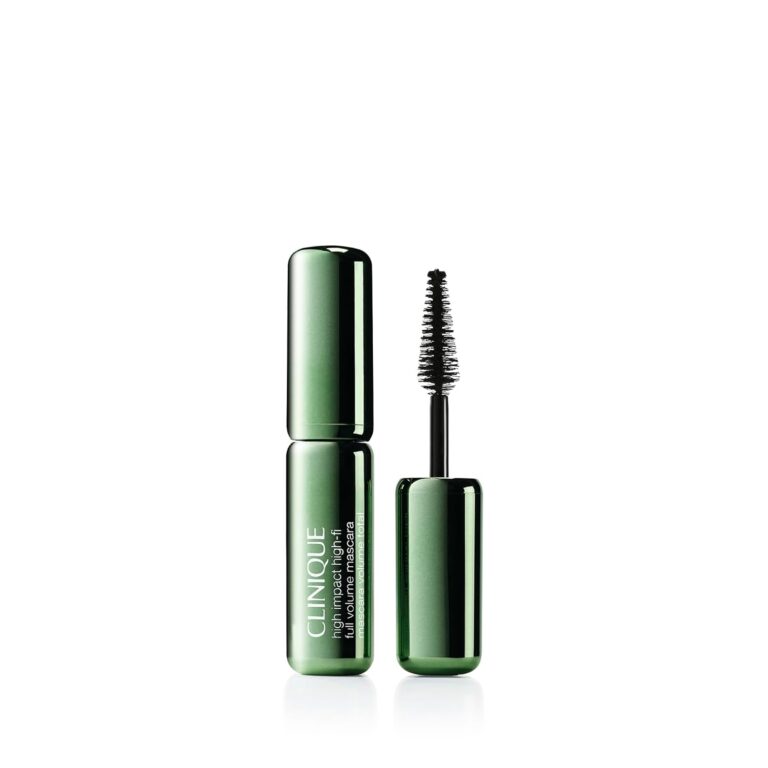
Maximizing Mascara Volume
Always curl your eyelashes before applying mascara. Hold the curler at the base of your lashes and squeeze gently for ten seconds. When applying mascara, wiggle the wand aggressively at the roots of the lashes before pulling it through the tips. This deposits the bulk of the product at the base, holding the curl and preventing the tips from becoming heavy and clumpy.
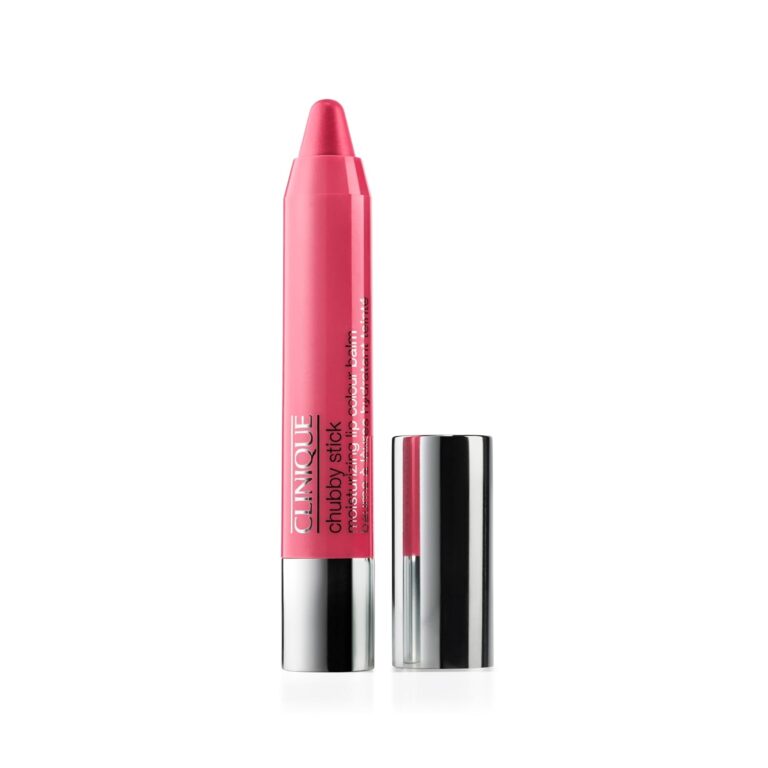
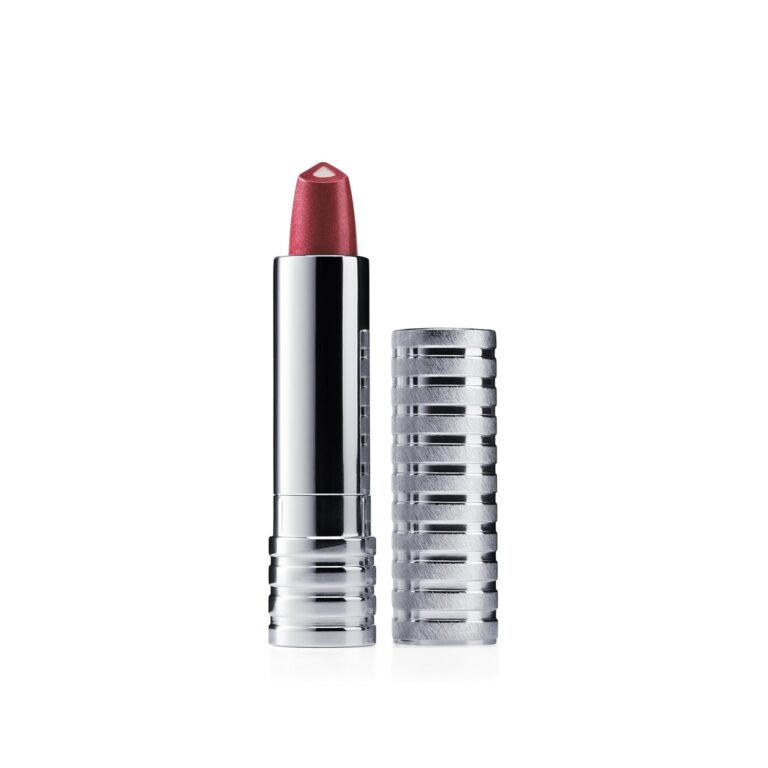
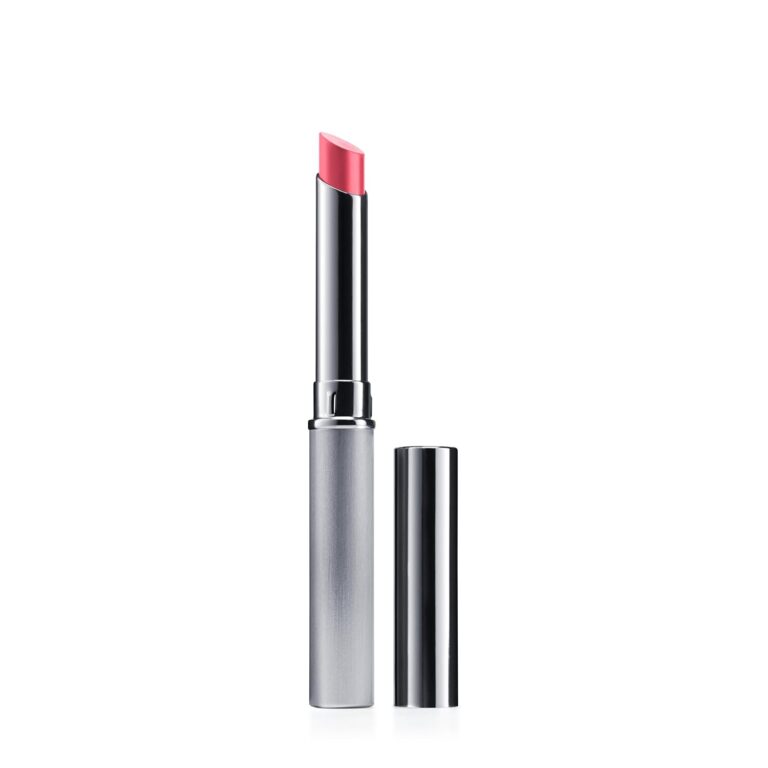
9. Lip Lining and Color Longevity
Applying lipstick directly from the bullet usually results in bleeding edges and color that fades after one cup of coffee. Proper lip preparation and layering guarantee a crisp, long-lasting pout.
Prep and Define
Exfoliate your lips gently with a damp towel to remove dry skin, then apply a hydrating lip balm. Wipe off any excess balm before going in with a lip liner. Choose a liner that closely matches your natural lip color. Trace just slightly outside your natural lip line at the cupid’s bow and the center of the bottom lip to create a fuller appearance, but follow your natural shape at the outer corners.
The Layering Method
Fill in your entire lip with the lip liner before applying your lipstick. This creates a highly pigmented, sticky base that holds onto your top color. Apply your lipstick, then take a single ply of a facial tissue and press it lightly against your lips. Dust a tiny amount of translucent powder over the tissue to set the lipstick underneath. Finish with a final layer of lipstick for an indestructible, vibrant finish.
10. Setting the Face for All-Day Wear
The final step in any flawless makeup routine is locking the products in place. Without proper setting techniques, your hard work will melt, crease, and fade within a few hours.
Strategic Powdering
Do not dust powder aggressively over your entire face, as this creates a dry, cakey appearance. Use a small, tapered brush and a finely milled translucent powder. Press the powder gently into the areas that crease easily or get oily quickly. Focus on your under-eyes, the sides of your nose, and the center of your forehead. Leave the high points of your cheeks powder-free to maintain a natural, healthy glow.
Lock it Down with Setting Spray
Setting spray melts all the layers of powder, cream, and liquid together, removing any powdery residue. Hold the bottle about ten inches away from your face and mist generously in an “X” and “T” formation. Keep your eyes closed and let the spray dry down naturally without fanning it. This final microscopic shield protects your makeup from humidity, sweat, and friction.
Conclusion
Creating a flawless makeup look is an entirely learnable skill. By prioritizing skin hydration, using a light hand with your foundation, and mastering the art of seamless blending, you can achieve stunning results at home. Start practicing these ten expert tips today. Experiment with your tools, take your time building layers, and watch as your daily routine transforms into a professional-level application.
Frequently Asked Questions (FAQs)
What is the most important makeup tip for an absolute beginner?
The most crucial tip is to prioritize your skincare and skin preparation. Makeup cannot hide dry, flaky skin or extreme texture. Invest time in finding a great moisturizer and chemical exfoliant. When your skin is healthy and deeply hydrated, your makeup will apply smoothly and look incredibly natural, even if your technique is not perfectly refined yet.
How do I stop my under-eye concealer from creasing?
Creasing happens when too much product settles into fine lines. To prevent this, apply a very thin layer of lightweight, hydrating concealer. Immediately after blending it out with a damp sponge, look up toward the ceiling and press a tiny amount of finely milled setting powder directly onto the area using a small puff or brush.
Can I use my fingers to apply foundation?
Yes, you can absolutely use your fingers to apply foundation, especially for sheer formulas and skin tints. The warmth of your hands helps melt the product into your skin for a very natural finish. However, for medium to full coverage foundations, a damp beauty sponge usually provides a more even, streak-free application.
How do I find my correct foundation shade?
Never test foundation on the back of your hand, as your hands are usually a different color than your face. Swatch three potential shades along your jawline and blend them slightly down your neck. Step outside into natural daylight to check the color. The perfect shade will completely disappear into your skin without leaving a visible line on your neck.
Do I apply cream blush before or after setting powder?
Always apply your cream and liquid products before you apply any powder. If you try to blend a cream blush or liquid highlighter over a face that has already been set with powder, the products will curdle, pill, and lift your foundation. The standard rule is liquids and creams first, followed by powders to set them in place.
https://www.profitableratecpm.com/hjxh6b80?key=9e65c3e44b1d7af1b5715b31bced7922