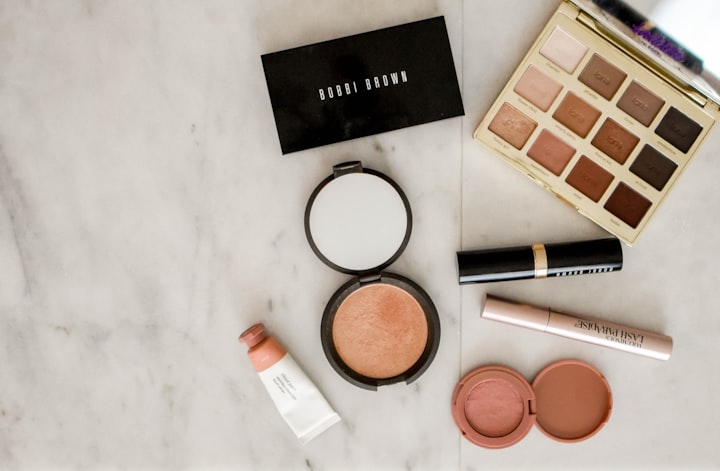
Walking down the cosmetics aisle can feel entirely overwhelming. You see hundreds of bottles, brushes, and palettes, all promising to make you look like a professional model. Where do you even begin? If you have never picked up a blending brush, the world of beauty might seem like an exclusive club.
You do not need an advanced degree in artistry to look polished and put together. Mastering the basics of cosmetics simply requires patience, the right techniques, and a solid understanding of how products work together. We created this guide to eliminate the confusion and help you build a routine that actually works for your lifestyle.
This comprehensive tutorial breaks down the essential makeup tips for beginners. You will learn how to prepare your skin, apply a flawless base, add beautiful dimension, and lock your look in place all day. We will also cover exactly which tools you need and how to avoid the dreaded cakey foundation effect.
Essential Tool Selection: Sponges vs. Brushes
Before you apply a single drop of product to your face, you need the right tools. Applying liquid foundation with your fingers works in a pinch, but specialized tools provide a much smoother, professional finish. You generally have two main options for base application: makeup sponges and synthetic brushes.
Makeup sponges, like the classic teardrop-shaped blenders, are incredible for beginners. You must dampen the sponge under running water and squeeze out the excess before using it. The damp sponge sheer out heavy foundations, pressing the product seamlessly into your skin. This bouncing motion prevents streaks and leaves a highly natural, glowing finish.
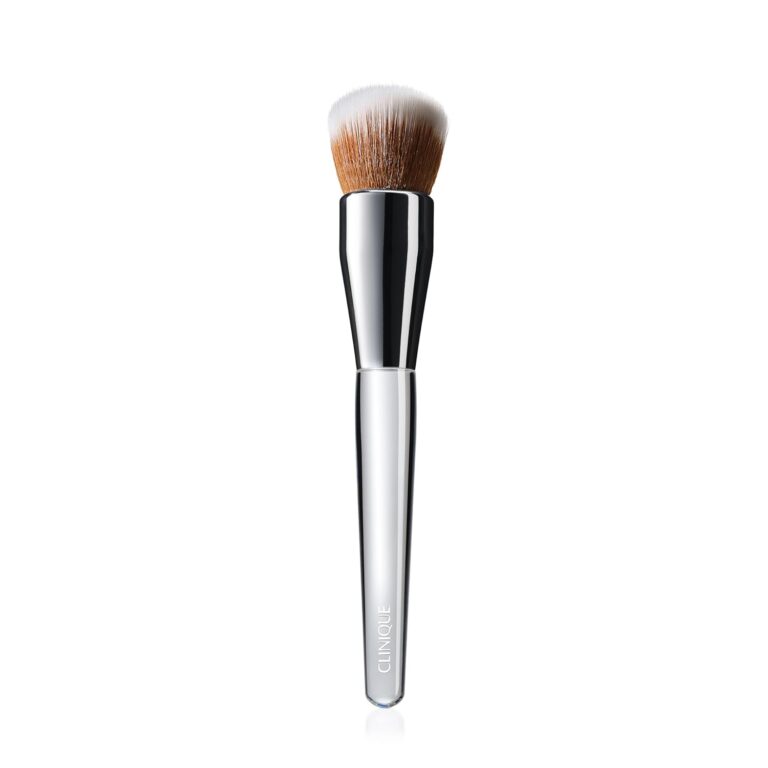
Makeup brushes offer a completely different experience. Dense, synthetic foundation brushes provide significantly more coverage than sponges. They allow you to paint the product onto your face quickly. However, brushes can sometimes leave tiny bristle streaks behind. Many professionals use a brush to apply the initial layer of foundation, then use a damp sponge to smooth out any remaining lines.
Step 1: Flawless Skin Preparation
Professional makeup artists share one universal secret: makeup only looks as good as the skin underneath it. You cannot paint a masterpiece on a dry, textured canvas. Proper skin preparation is the most critical stage of your entire routine.
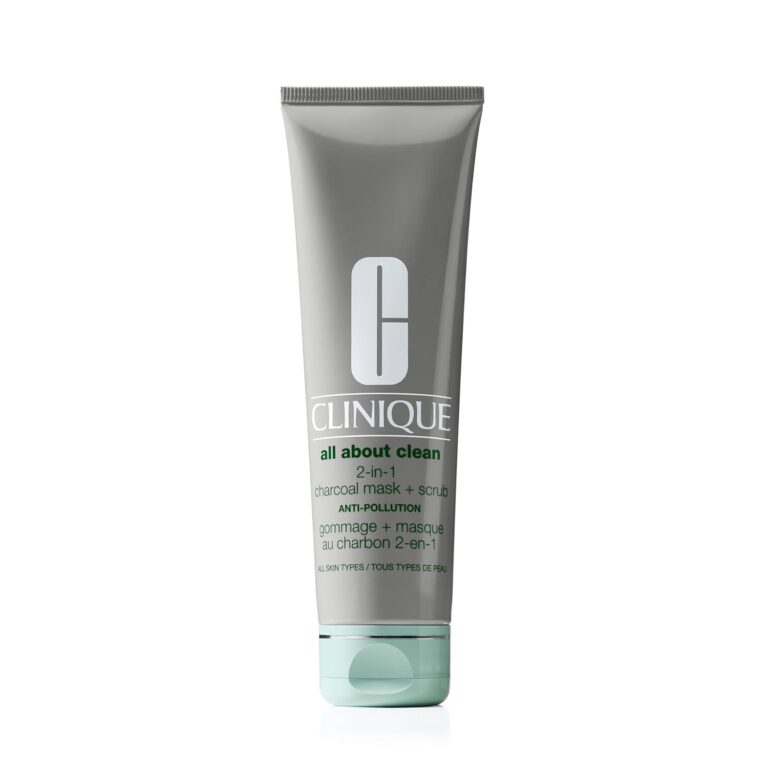
Start by washing your face with a gentle, hydrating cleanser. This removes dirt, sweat, and excess oils that can cause your makeup to slide off later in the day. Pat your skin dry with a clean towel.
Next, you must apply a generous layer of moisturizer. Even if you have oily skin, skipping moisturizer causes your face to overproduce natural oils to compensate. Let the moisturizer sink into your skin for at least five full minutes. If you apply foundation immediately over wet moisturizer, the products will mix and pill off your face in tiny clumps.
Step 2: The Perfect Base Application
Creating a smooth, even base sets the tone for the rest of your look. This step involves three distinct products: primer, foundation, and concealer. Take your time during this stage to ensure everything blends seamlessly.
Smoothing the Canvas with Primer
Primer acts as a protective barrier between your skincare and your color cosmetics. It fills in enlarged pores, smooths over fine lines, and gives your foundation something to grip. Choose a primer that matches your skin type. If you have dry skin, look for a hydrating primer. If you struggle with shine, a mattifying formula works best.
Applying Foundation Lightly
The biggest mistake you can make is applying too much foundation at once. Pump a single drop of foundation onto the back of your hand. Use your finger to dot the product around the center of your face, focusing on your nose, chin, and forehead.
Take your damp beauty sponge and bounce it rapidly over your skin. Work the product outward toward your hairline and jawline. Keep the coverage very sheer around the edges of your face to avoid a harsh, visible line on your neck. You can always add a tiny bit more product to areas that need extra coverage.
Brightening with Concealer
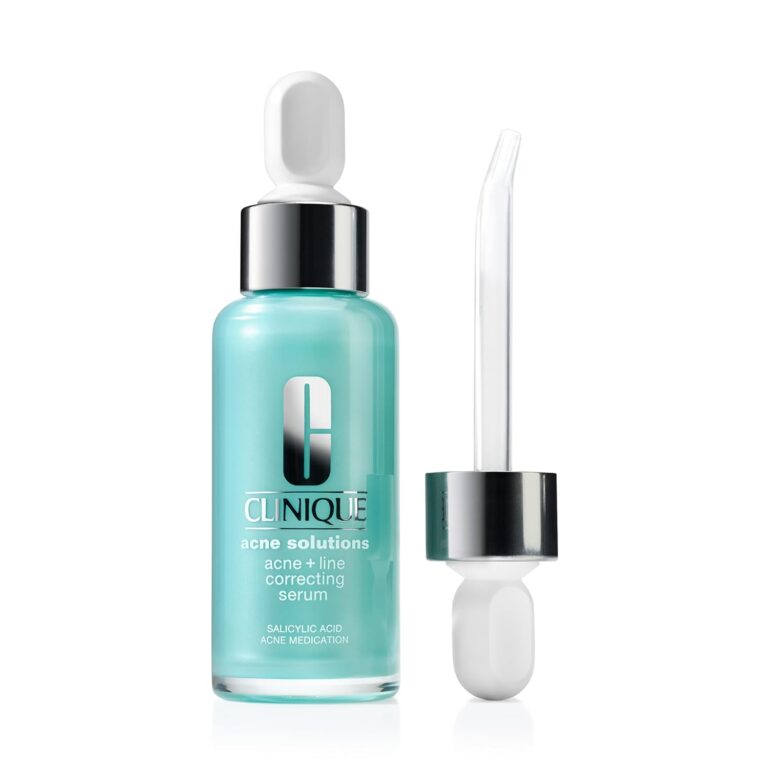
Concealer provides highly concentrated pigment to cover dark circles and stubborn blemishes. Choose a concealer shade that is slightly lighter than your foundation to brighten your under-eye area. Apply two small dots near the inner and outer corners of your eyes, then blend them upward toward your temples.
To cover an angry breakout, use a concealer that exactly matches your foundation. Dab a tiny amount directly onto the spot and let it sit for sixty seconds. Letting it dry slightly increases the coverage. Tap the edges softly with your sponge to blend it into the surrounding skin.
Step 3: Adding Dimension and Color
Foundation evens out your skin tone, but it also removes the natural shadows and warmth from your face. You must add that dimension back in to prevent your face from looking flat and lifeless. We achieve this using bronzer and blush.
Warming the Skin with Bronzer
Bronzer adds a sun-kissed warmth to your complexion. Use a large, fluffy brush to pick up a small amount of powder bronzer. Tap the handle of the brush against your wrist to knock off any excess powder. Apply the bronzer in the shape of a “3” on both sides of your face.
Start at the top of your forehead along the hairline. Sweep the brush down to your cheekbones, and finally, bring it down along your jawline. This technique mimics where the sun naturally hits your face and provides a soft, sculpted look.
Lifting the Face with Blush
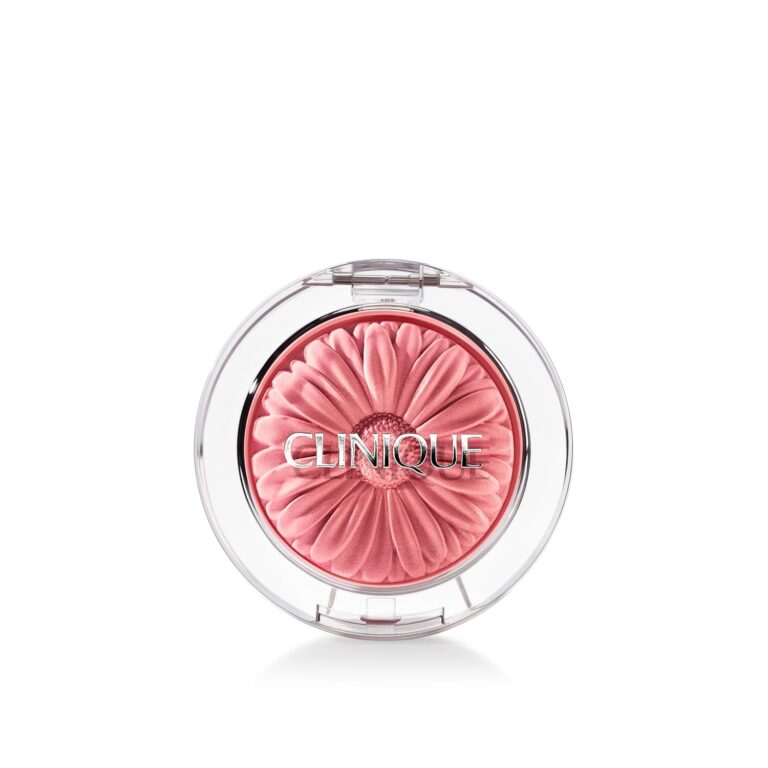
Blush brings a healthy, youthful flush back to your cheeks. Smile slightly to locate the apples of your cheeks. Dip a smaller, soft brush into your blush and apply it right above the apples, sweeping the color upward toward your temples.
Blending blush upward visually lifts your face. If you apply blush too low on your cheeks, it drags your features downward and makes you look tired. Always start with a very sheer layer of blush. It is incredibly easy to add more color, but extremely difficult to remove bright pink powder once it sets on your skin.
Step 4: Simple and Striking Eye Makeup
Eye makeup allows for endless creativity, but beginners should start with simple, classic techniques. You do not need a complicated cut-crease to make your eyes pop.
Applying Basic Eyeshadow
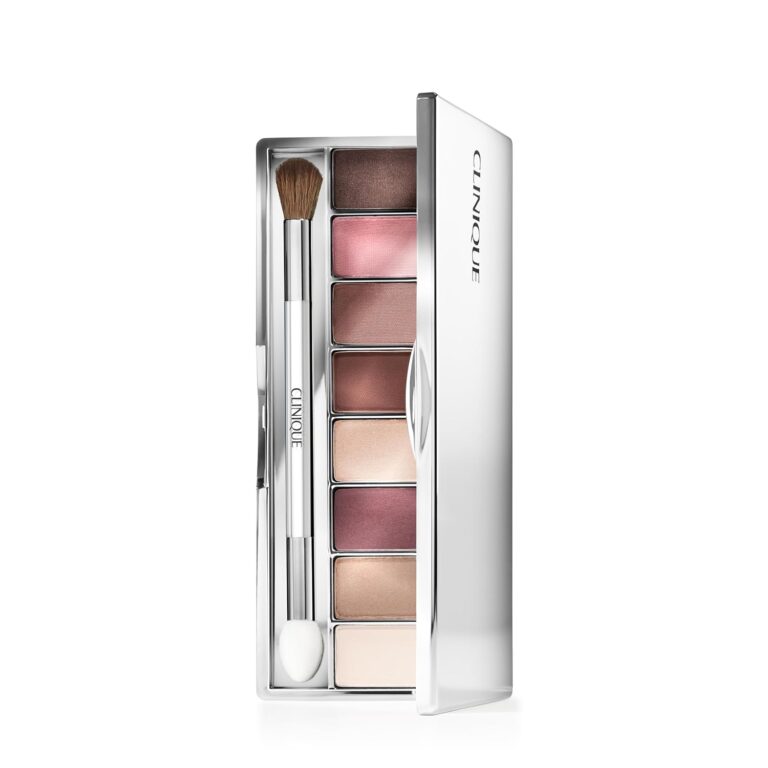
Start with a neutral eyeshadow palette containing brown and beige tones. Pick up a light, matte brown shade using a fluffy blending brush. Sweep this color back and forth into the crease of your eyelid using a windshield-wiper motion. This creates depth and makes your eyes look larger.
Next, use your ring finger to pick up a shimmery champagne or gold shade. Press this shimmer directly onto the center of your eyelid. The warmth of your finger helps the metallic pigment apply smoothly without falling onto your cheeks.
Defining with Eyeliner and Mascara
Liquid eyeliner takes months to master, so beginners should always start with a dark brown or black pencil liner. Gently trace the pencil along your upper lash line, staying as close to the roots of your eyelashes as possible. If the line looks messy, use a small brush or a cotton swab to softly smudge the edges.
Finish your eyes with two coats of volumizing mascara. Wiggle the mascara wand aggressively at the very base of your lashes before pulling it through the tips. This deposits the thickest amount of product at the roots, making your lashes look incredibly full while preventing heavy, clumpy tips.
Step 5: Finishing Touches
You have built a beautiful face of makeup, but you need to finish the look and ensure it survives the day. The final touches bring the entire routine together.
Enhancing Your Lips
Dry, chapped lips ruin the look of lipstick. Exfoliate your lips gently with a damp towel, then apply a layer of lip balm. Wipe away the excess balm before applying color.
For beginners, tinted lip glosses or creamy lipsticks are much easier to apply than matte liquid lipsticks. Swipe your chosen color across your bottom lip, press your lips together, and fill in the top lip. If you make a mistake, clean up the edges with a tiny bit of concealer on a flat brush.
Locking it in with Setting Spray
Setting spray is the ultimate secret weapon for makeup longevity. It melts all the layers of powder and liquid together, removing any dry, powdery residue. Hold the bottle about ten inches away from your face.
Mist your face generously in an “X” and “T” formation. Keep your eyes closed and allow the spray to dry completely without fanning your face. This microscopic shield protects your hard work from sweat, humidity, and friction.
How to Avoid Common Beginner Mistakes
Learning a new skill always comes with a learning curve. Identifying common pitfalls early will save you hours of frustration in front of the mirror.
Preventing Cakey Foundation
Cakey makeup is the number one complaint among beginners. This usually happens for three reasons: skipping moisturizer, using too much foundation, or applying heavy powders over wet creams. Always prioritize your skincare prep. Use a damp sponge to sheer out your foundation, and only apply setting powder strictly to the areas that get oily, like your T-zone.
Fixing Harsh Lines
Harsh, unblended lines make makeup look heavy and unnatural. This often occurs with bronzer, blush, and eyeshadow. The solution is simple: keep blending. Take a clean, fluffy brush with absolutely no product on it and buff the edges of your makeup in soft, circular motions until the colors fade seamlessly into your skin.
Conclusion
Building a flawless makeup routine takes time, practice, and patience. Do not get discouraged if your eyeliner is not perfectly straight on your first try. By following these makeup tips for beginners, you now possess the knowledge to choose the right tools, prepare your skin correctly, and apply your cosmetics with confidence.
Start practicing these techniques tomorrow morning. Focus on perfecting your skin preparation and foundation blending before moving on to complex eye looks. With consistent practice, these steps will become second nature, allowing you to highlight your natural beauty effortlessly every single day.
Frequently Asked Questions (FAQs)
What is the most important makeup tip for a complete beginner?
The most vital tip is to prioritize your skincare routine. Makeup cannot hide dry, flaky, or unwashed skin. If you thoroughly cleanse and deeply moisturize your face before applying any cosmetics, your foundation will look infinitely smoother and more natural.
Do I absolutely need to use a primer?
While not strictly mandatory, primer solves many common application issues. If your foundation fades quickly, settles into fine lines, or looks exceptionally textured over your pores, a targeted primer will fix those exact problems. It creates a smooth barrier that helps makeup adhere better.
Should I apply my eye makeup before or after my foundation?
Many professionals recommend doing your eye makeup first, especially if you are using dark or shimmery eyeshadows. Powder often falls down onto your cheeks during application. If you do your eyes first, you can easily wipe away the fallen shadow with a makeup wipe before applying your flawless foundation base.
How do I clean my makeup sponge and brushes?
You should clean your damp beauty sponge after every single use to prevent bacteria growth. Wash your brushes at least once a week. Use a gentle baby shampoo or a specialized brush cleanser. Lather the bristles gently under warm water, rinse until the water runs clear, and lay them flat on a towel to dry overnight.
Why does my concealer crease under my eyes?
Creasing occurs when excess liquid product settles into the natural folds of your skin. To prevent this, apply a very thin layer of hydrating concealer and blend it thoroughly with a damp sponge. Immediately after blending, look up toward the ceiling and press a tiny amount of translucent setting powder directly onto the area to lock the liquid in place.